Installation
First, you must have Conda installed and create a dedicated conda environment:
(base)$ conda create -n tomolog python=3.9
and:
(base)$ conda activate tomolog
(tomolog)$
then install all requirements with:
(tomolog)$ conda install -c conda-forge python=3.9 google-api-python-client matplotlib dxchange dxfile python-dotenv matplotlib-scalebar
install meta
(tomolog)$ git clone https://github.com/xray-imaging/meta.git
(tomolog)$ cd meta
(tomolog)$ python setup.py install
and install tomolog
(tomolog)$ git clone https://github.com/xray-imaging/tomolog-cli.git
(tomolog)$ cd tomolog
(tomolog)$ python setup.py install
Requirements
Please install all the packages listed in requirements file.
Google
tomolog uses Google services to publish experiment metadata and images to public Google Slides. To enable this functionality, you need to create a Google Cloud project by following these steps:
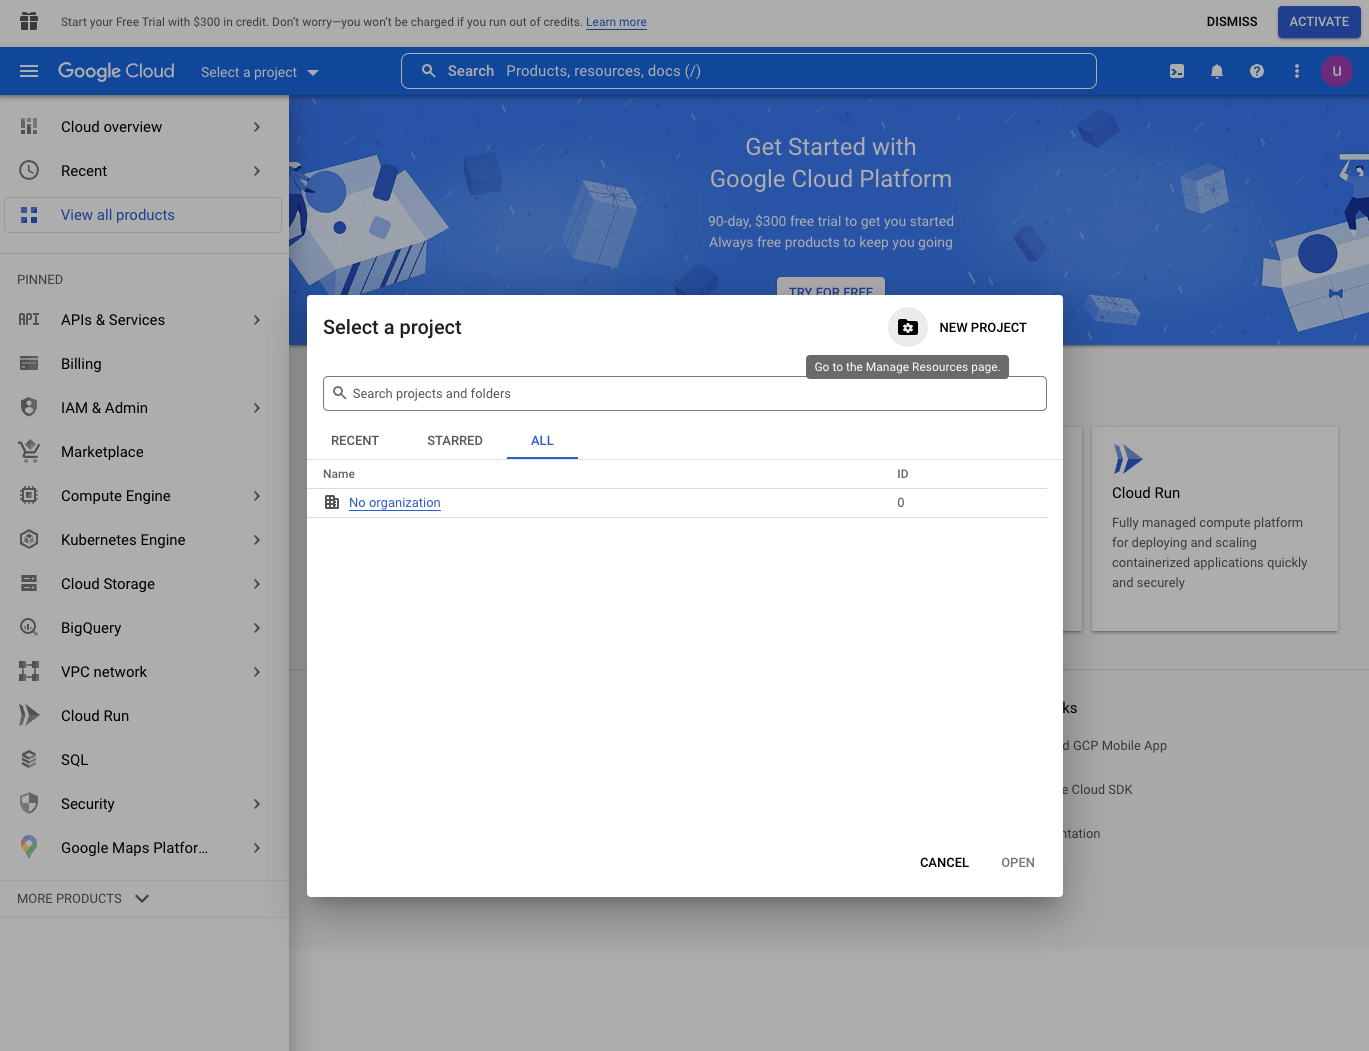
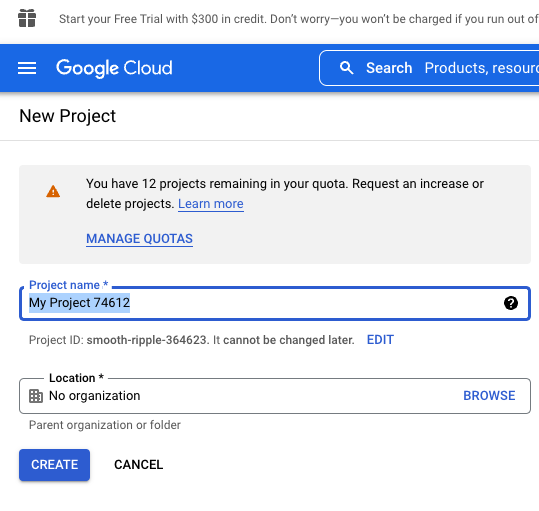
Open a web browser and login as …@gmail.com then go to google developer site and press “Select a project” to create a new project
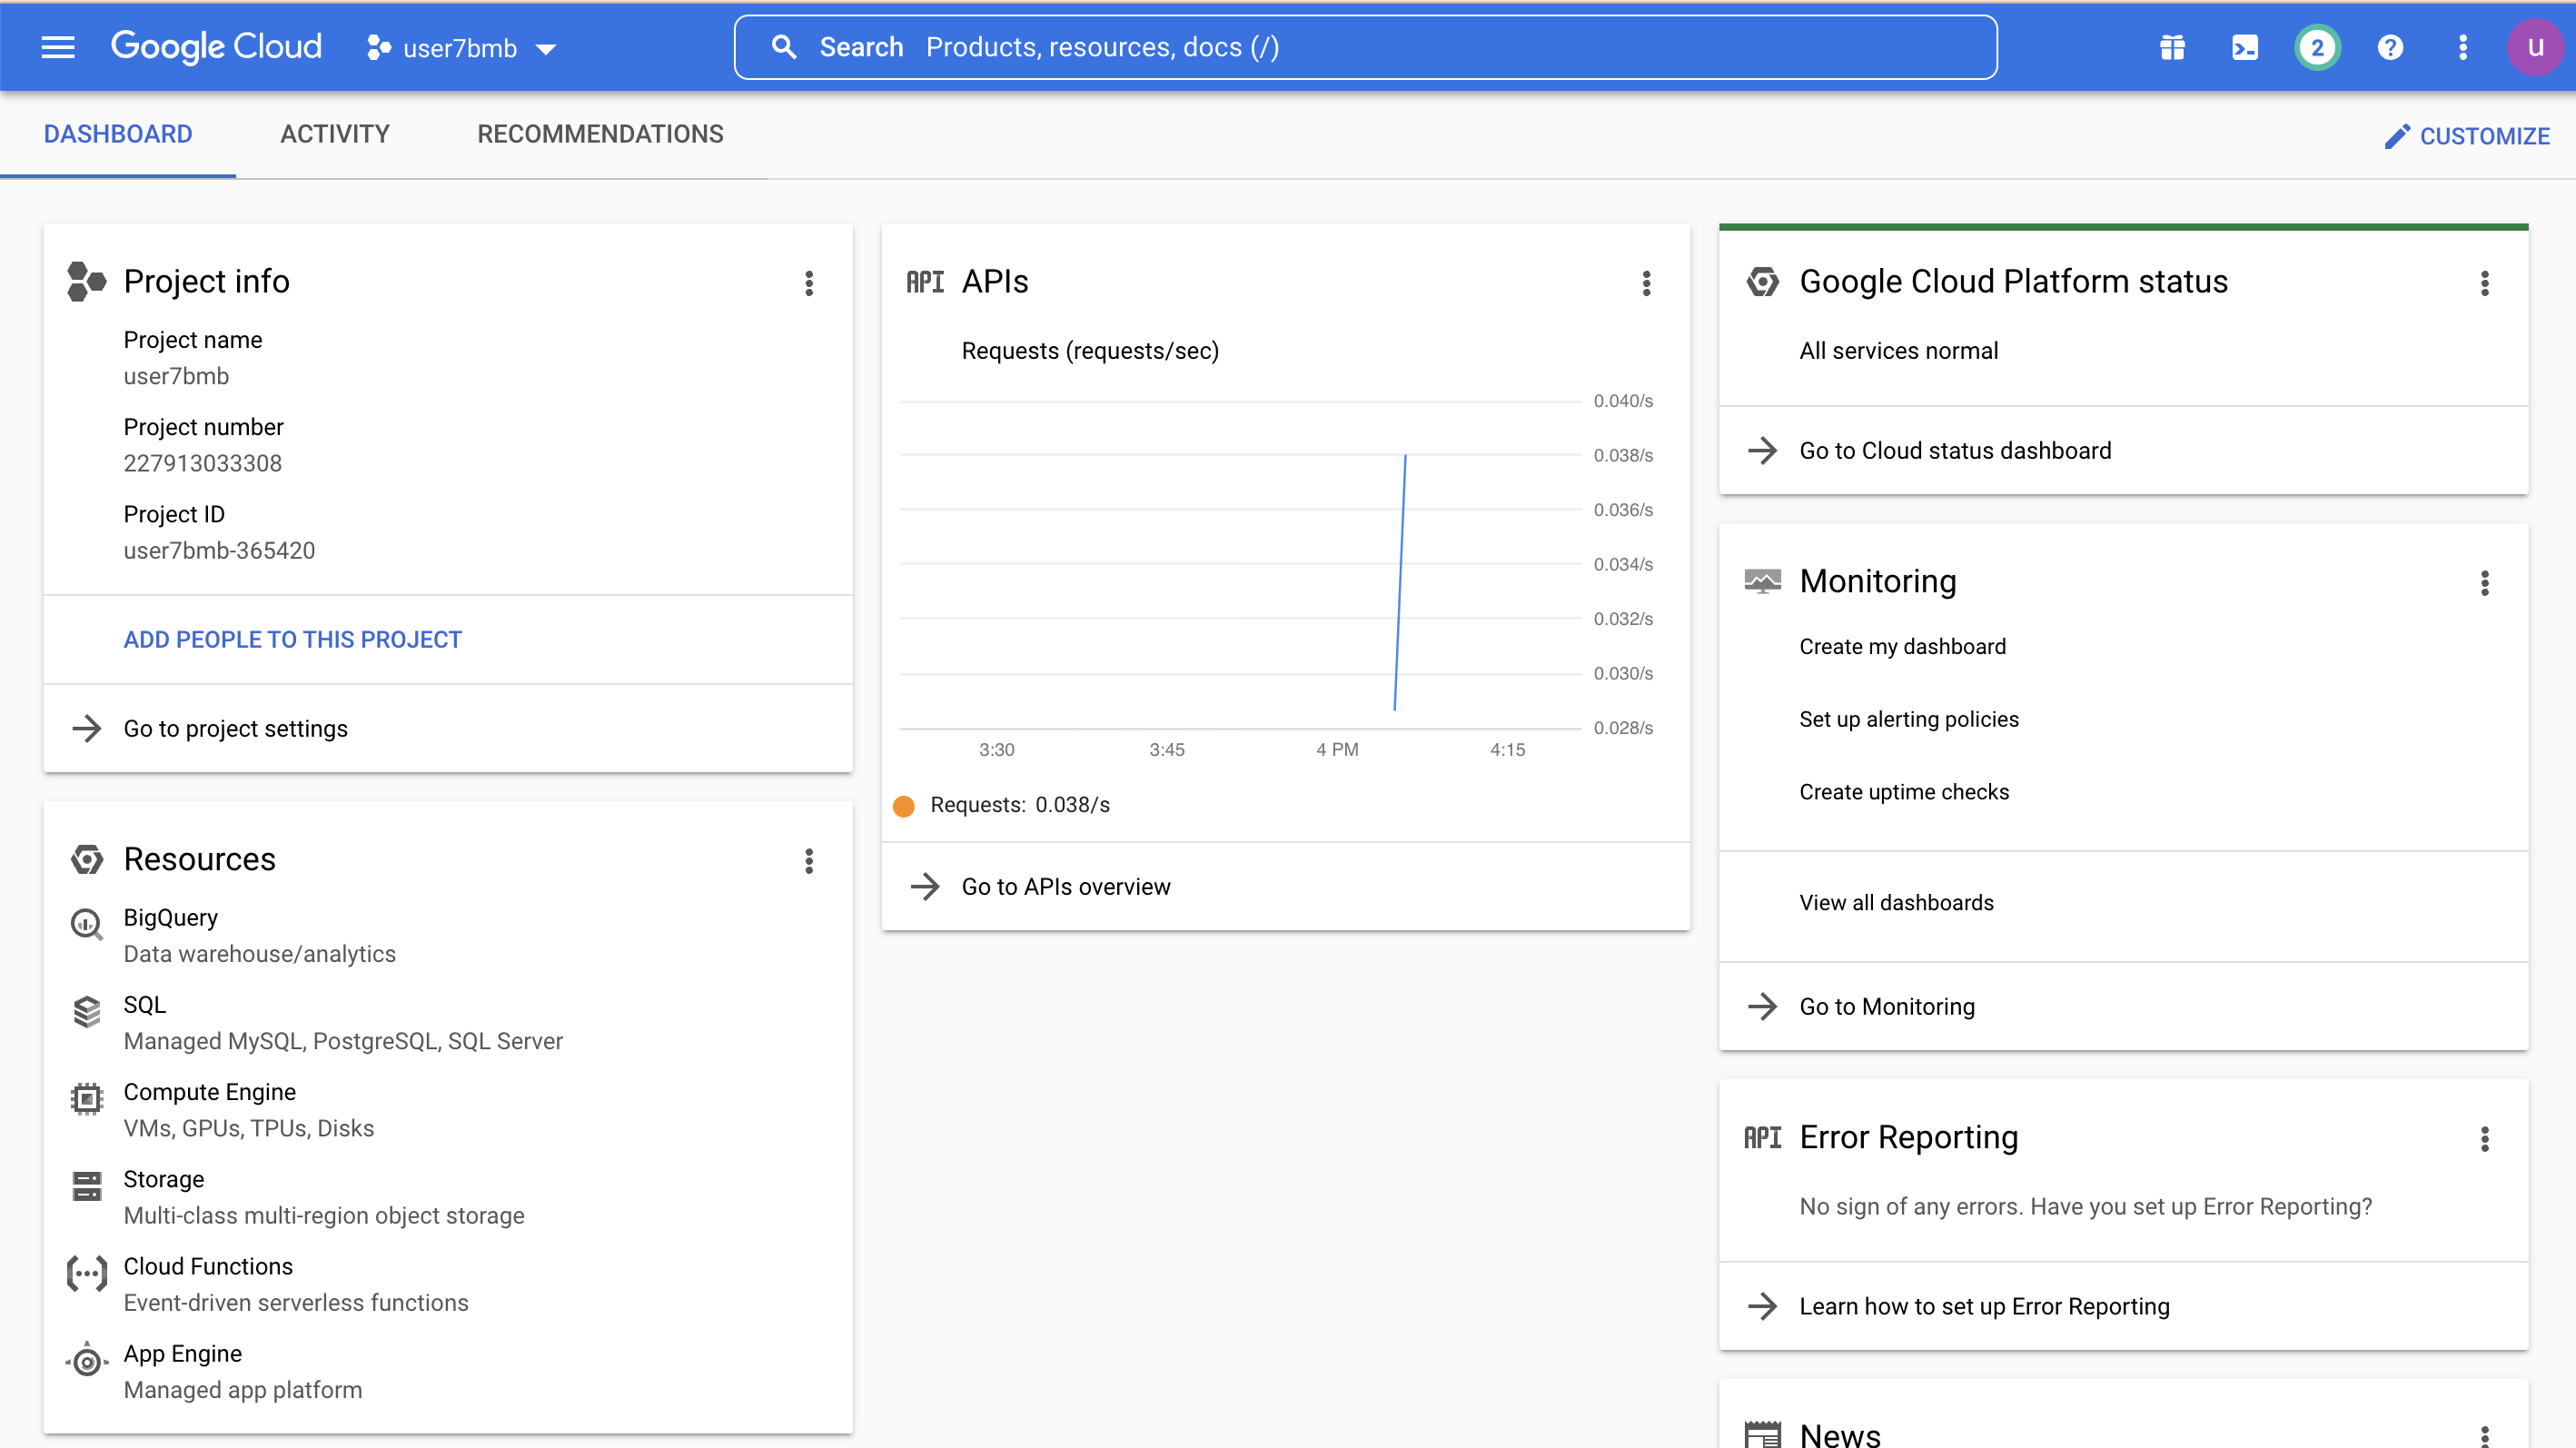
Once the project is selected go to the project dashboard:
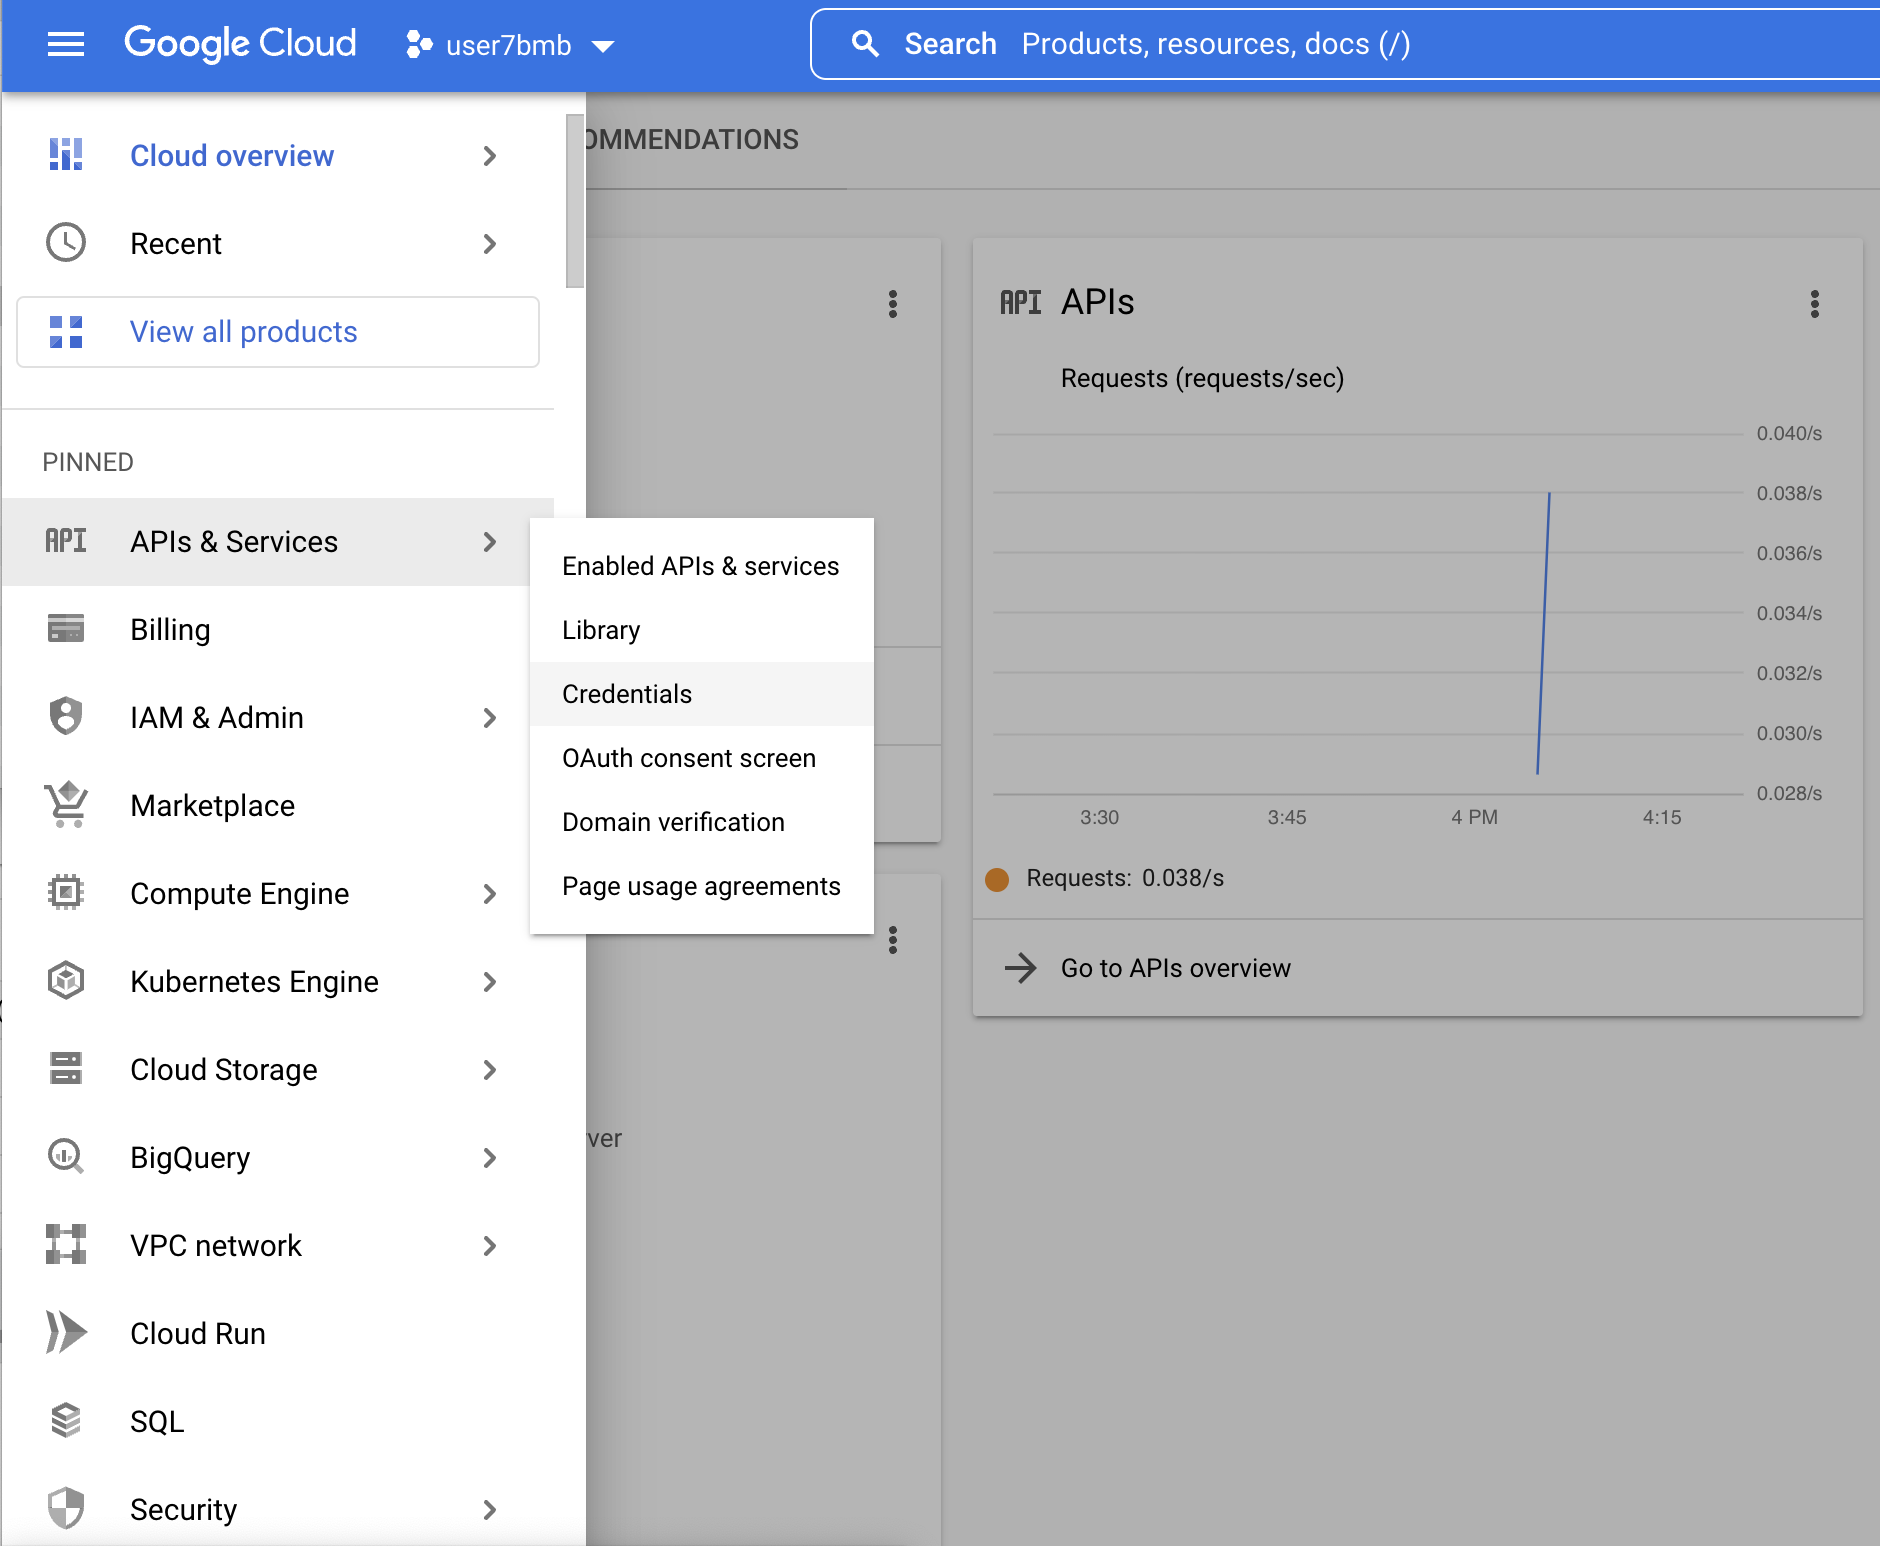
and select API & Services / Credentials
select it and then go to Create Credentials / Service account

where you enter the service account name, i.e. tomolog
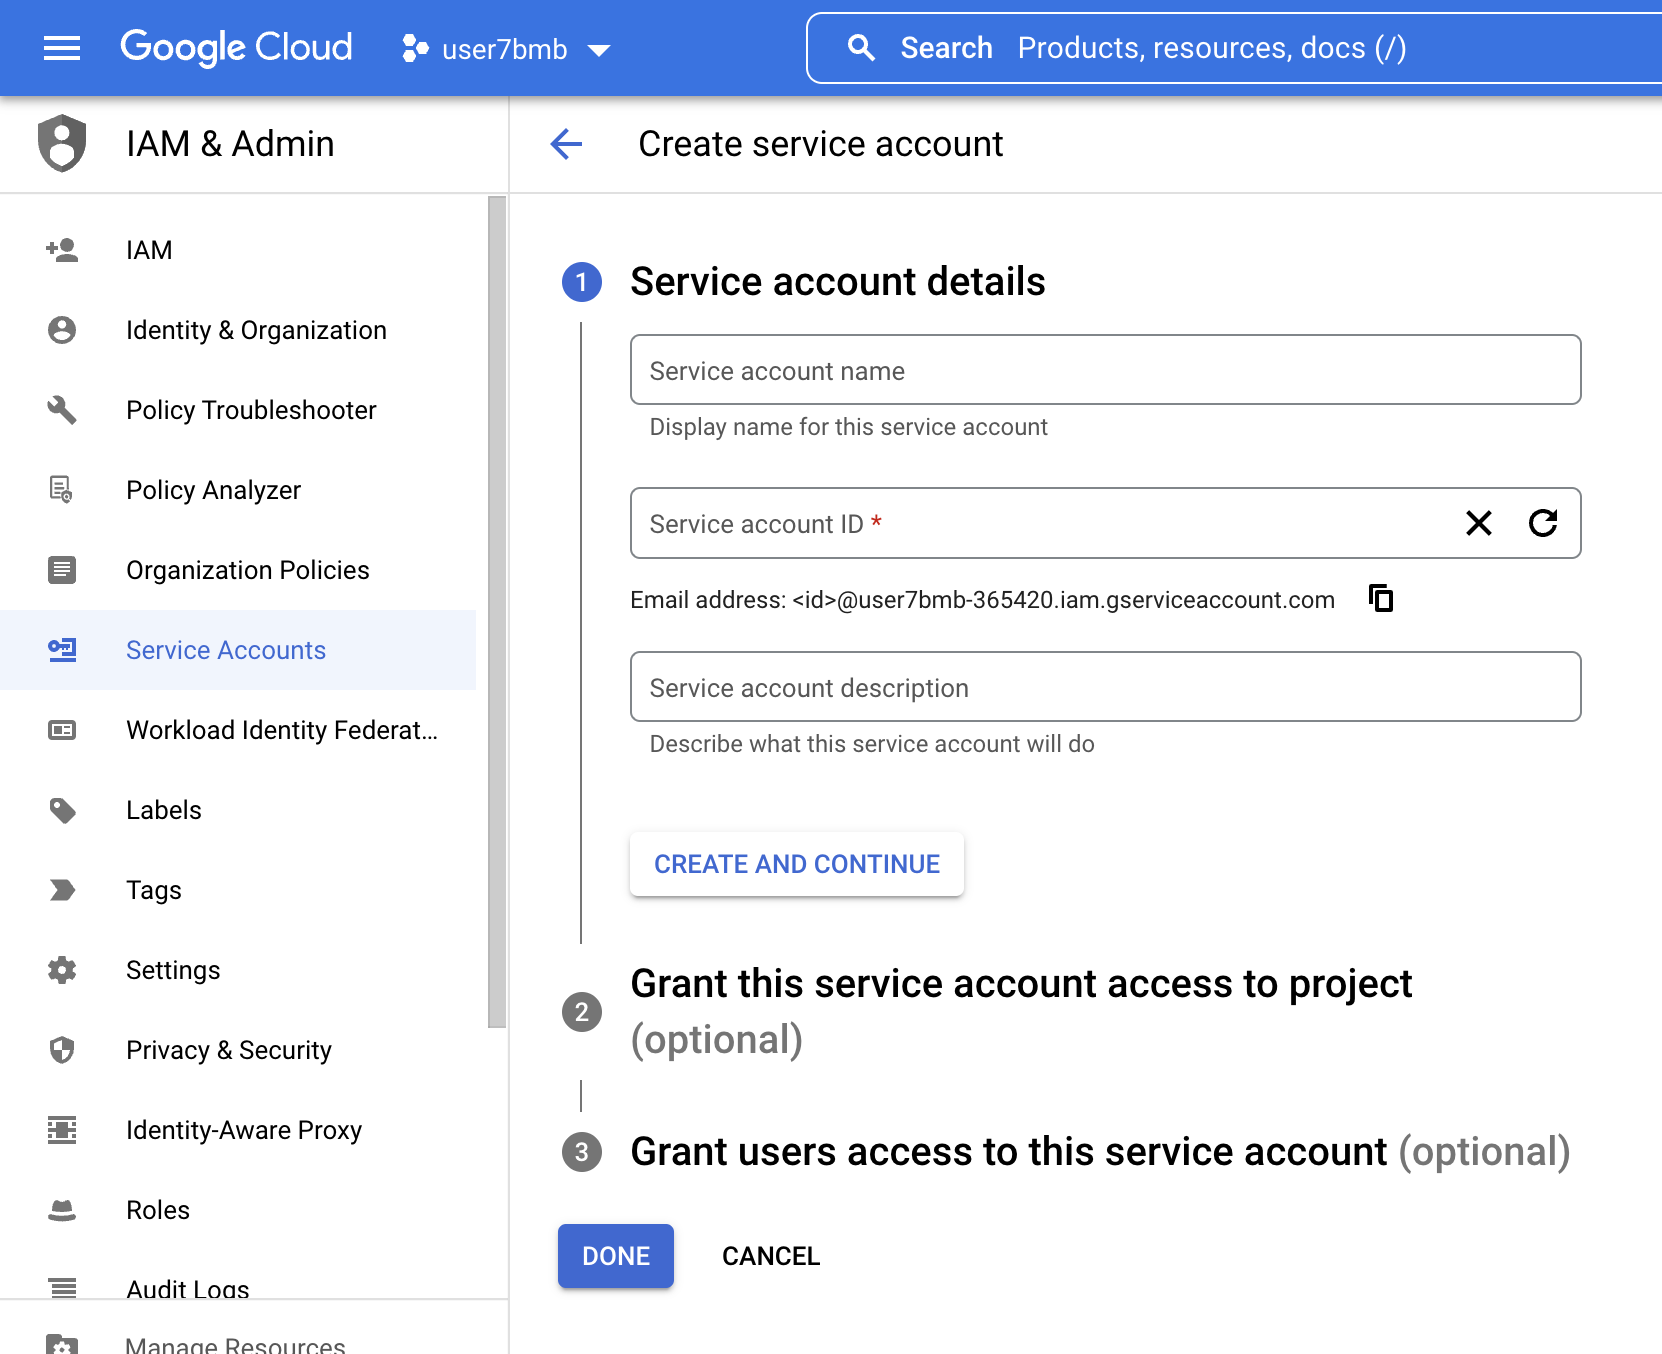
Grant this service account access to project: Owner
Grant users access to this service account:
service account user role: Google Account email: ....@gmail.com
service account admin role: Google Account email: ....@gmail.com
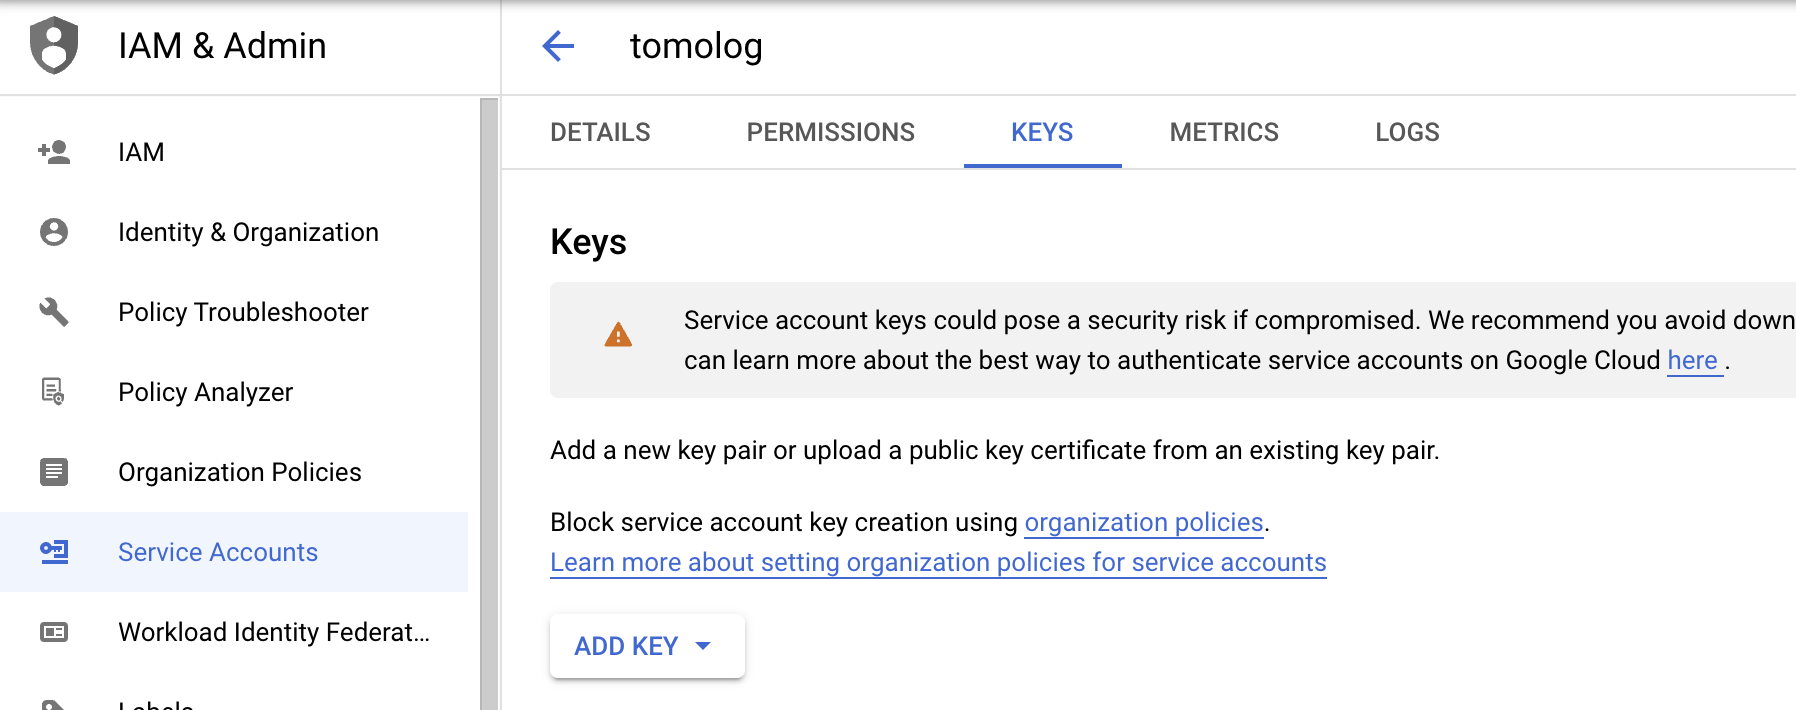
Once the service account is selected you need to create the authorization key:
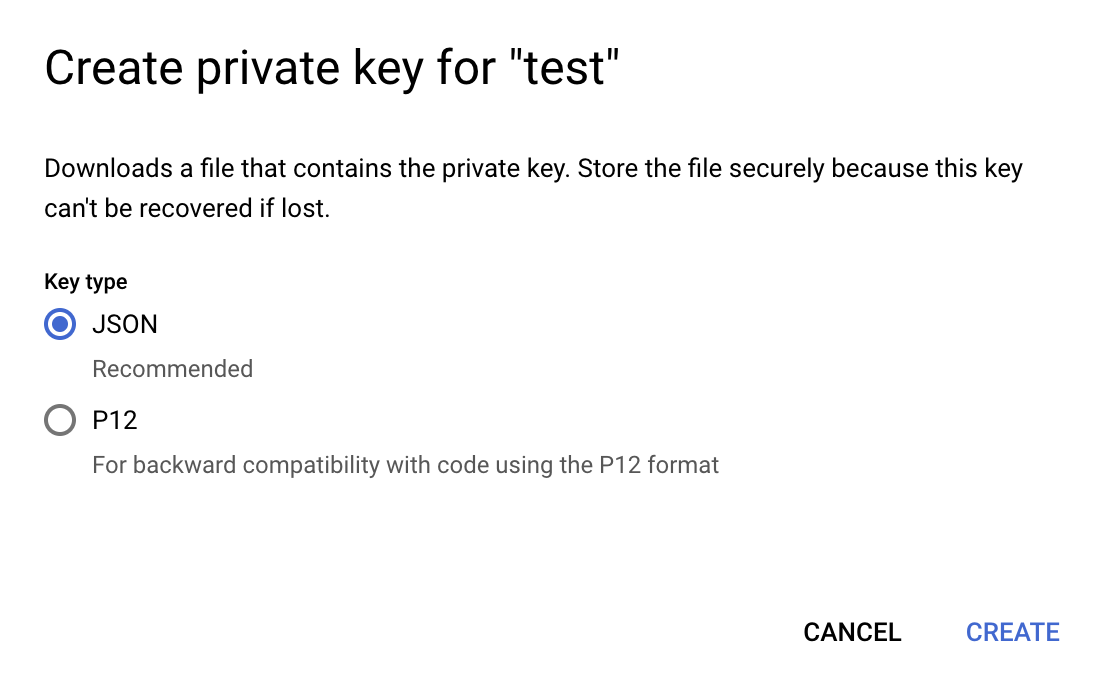
open the json file and copy the authorization token in a file called:
$ ~/tokens/google_token.json
Go back to the project dashboard

and select “Go to the API overview”
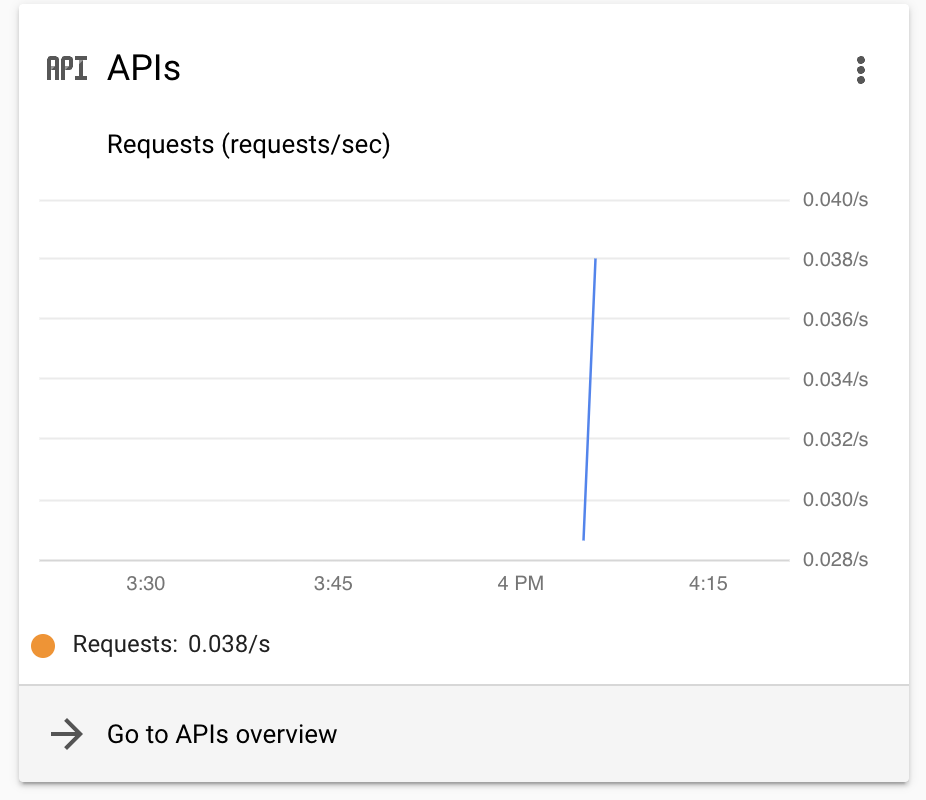
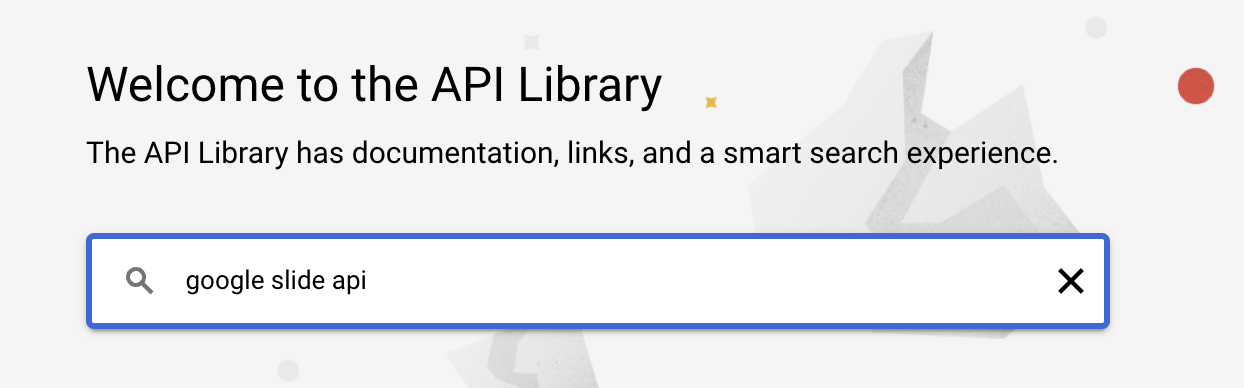
and select “Enable API and Services”

search and add the “google slide api”
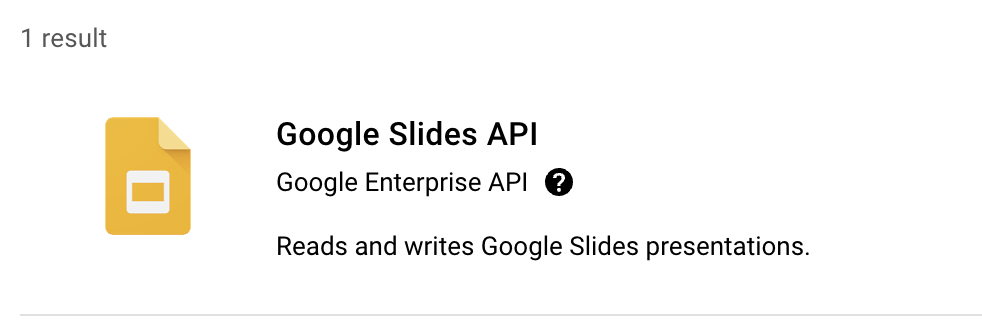
tomolog can now publish experiment metadata and images to any public Google Slides presentation.